Search in the blog:

2024-04-18

Replacing the fuel filler neck [Jimny]

In 2015 I removed a fuel filler neck protector to wash the body of my Suzuki Jimny Sierra. Unfortunately, it turned out that the filler neck was rusted. I didn't put the protector back on after the wash, so I checked the filler neck regularly.

In 2019 it looks rusted, but without holes:


I recently replaced the fuel filler neck. The part number is 89201-81A01 (or 89201-81A02), I installed a used one in good condition (from JB23W, 2002).

All parts came off quite easily, I cleaned bolts and hose clamps in EDTA-Na2 solution before installing.

Maybe I will also clean the neck in EDTA-Na2. Just to prove the concept.


See also related notes:
Image albums:

2024-04-17

Baykal Port-2 (2006)

Lake Baikal, the source of the Angara River, Baykal Port, early 2006.


Pentax *ist Ds (1.5x crop factor, 6MP) + unknown manual focus lens

See also a panorama.


See also related notes:
Image albums:

2024-04-16

Anastigmat Victar 50/2.9: Samples [1] - FF

Photos taken with the Sony a7c (FF, 24MP) and the Anastigmat Victar 50/2.9 at f/2.9.


2024-04-15

Epson Perfection 4490 Photo

I have been scanning documents, photos and films with the Epson Perfection 4490 Photo flatbed scanner since 2006. Its driver and software (Epson Scan) still work on Windows 10.

Before this scanner, I tried to scan films with a handmade adapter for a digital camera. But then I scanned films only with the scanner. Scanning with the Epson 4490 is slow, especially at the highest resolution, but the result is quite good even today.

For scanning films, a film holder should be used. And there is an additional (upper) lamp in the lid. Unfortunately, the lamp of my scanner is not bright enough anymore.


On the preview images are almost invisible:


After scanning, there is a lot of noise in the image.


The result is completely useless.

I was looking for a new lamp, but it is difficult to find one. I thought about buying a similar used scanner, but I am not sure if its lamp will work well.

So I keep the scanner for normal non-film scanning, while I want to go back to digitizing films with a digital camera.


See also related notes:
Image albums:

2024-04-14

Vintage beakers from East Germany

I found a pair of beakers (600ml). They are vintage ones from East Germany (GDR/DDR).


Jenaer Glas, Rasotherm.


I already use these beakers for some tasks. But their graduation is rather imprecise.


Image albums:

2024-04-13

Pentax DA L 18-55/3.5-5.6: Samples [1] - FF

Photos taken with the Sony a7c (FF, 24MP) and the Pentax DA L 18-55/3.5-5.6. Since the lens is designed for APS-C (crop factor 1.5x), it can only be used as a 28-55mm on FF. The aperture was fully open: f/4-5.6 depending on the focal length.

Of course, the profiled lens correction is disabled. And there are no EXIF aperture and focal length data.


See also related notes:

2024-04-12

EDTA-Na2: Hose clamps from Jimny

In addition to the bolts, I also cleaned hose clamps from my Jimny.

Before cleaning:


After cleaning in EDTA-Na2 solution.


See also related notes:
Image albums:

2024-04-11

"Zoom View Finder 1.08-1.60x" magnifier.

The viewfinder of the Pentax K-m is rather poor for manual focusing, especially after mirrorless cameras.  I used to use magnifiers on the Pentax DSLRs, but I sold them. So I bought a cheaper alternative called "Zoom View Finder":


It is a universal thing, it includes adapters for SLRs of different manufacturers (and Pentax, of course).


The main feature of the magnifier is the zoom. It is possible to change the magnification factor from 1.08x to 1.60x, as mentioned.


I haven't tried the magnifier yet, because I rarely use the Pentax k-m.


Image albums:

2024-04-10

Pentax K 50/1.4: Samples [1] - FF - f/1.4

Photos taken with the Sony a7c (FF, 24MP) and the Pentax K 50/1.4 at f/1.4.


(I'm not sure if it's f/1.4)


Image albums:

2024-04-09

My "boss key" utility [DOS, 1994-1995]

In the winter of 1994-1995 I wrote a small utility to implement a universal "boss key" for [MS]-DOS.

After execution the utility terminates and stays resident (TSR). But you can press F12 at any time to quickly display the black screen and pause the current process. Then pressing F11 resumes the process and returns its screen. The purpose, of course, was to play DOS games on a public PC.

Sounds like a simple task, but it required some know-how on my part.

Normally, the INT 09h (IRQ 1, keyboard) handler should be installed to process pressed keys. But there are some DOS games that block this possibility: they set their own INT 09h handler and don't call the previous one, so the utility doesn't know about pressed keys.

So in version 1.0 (1994-12-23) I tried a workaround, instead of INT 09h the utility handles INT 10h (video services). To scan the keyboard, the utility reads port 60h (keyboard) in the handler.

But this was not enough to get a fast and stable response to the F12 key. In version 1.1 (1995-01-28) the utility mainly handles INT 08h (IRQ 0, hardware timer) and scans the keyboard port in this handler. This worked well for many games.


(the utility written in assembler)

The next task was to hide the process screen. I chose a simple but effective solution. When the F12 key is pressed, the utility sets (via INT 10h) all 256 DAC color registers to black (0, 0, 0) level. This means that the displayed data remains on the screen, but because of this black palette, it looks like the black screen. This required only 256*3 bytes to store the previous palette instead of storing all screen data in RAM.

The utility also mutes the PC speaker (61h port) and then waits in a loop for the F11 key to be pressed. This pauses the current process. When the F11 key is pressed, the values of the DAC color registers are restored to display the screen and the handler terminates to resume the current process.

This utility was very useful until Windows OS (95 and so on) came along.


Image albums:

2024-04-08

EDTA-Na2: Bolts from Jimny body

There are two bolts from the body of my Suzuki Jimny Sierra. Both were in the same state of rust.

One of the bolts (on the left) I cleaned only with some petroleum solvent. The other one (on the right) I cleaned with EDTA-Na2 solution.


Looks like there is some bluing (black oxide) on the bolt after EDTA-Na2. I hope this will protect the bolt from rust (red oxide).


See also related notes:
Image albums:

2024-04-06

Samsung NX 10/3.5 Fisheye: Samples [1] - APS-C

Photos taken with the Samsung NX20 (1.5x crop factor, 20MP), the Samsung NX500 (1.5x crop factor, 28MP), and the Samsung NX 10/3.5 Fisheye at f/3.5. The profiled lens (distortion) correction is disabled.

(NX20)

(NX20)

(NX20)

(NX20)

(NX500)

(NX500)

(NX500)

2024-04-04

SZ Viewer A1-2024-04-04 (Android)

SZ Viewer (Android) changes:

1. Target API level 34 (Android 14).


See also related notes:

2024-04-03

Low ISO emulation through image averaging

In my opinion, the global shutter of a full-frame sensor is a great innovation for consumer digital cameras. I would like to see the next big step towards low ISO support.

Digital cameras already emulate low ISO with hidden positive exposure compensation, but it is rather useless because of possible highlight blowouts.

My reasons for using low ISO:

1. With very fast lenses.

2. For motion blur.

3. To increase the signal-to-noise ratio.

What are possible solutions?

Sony a9 III shortest shutter speed is 1/80000. According to the Sunny 16 rule, this is enough for f/1.0 and slightly faster lenses even at native ISO250 ( (1/250 * 1/((16/1)^2) = 1/64000, calculated shutter speed for ISO250 and f/1.0). Practically, I think 1/80000 is enough even at f/0.7.

For two other purposes, I would like to see low ISO emulation through image averaging. In this mode, the photographer chooses the emulated shutter speed. This speed is the sum of several cycles with a shorter shutter speed (of the global shutter). The number of cycles depends on the native ISO and the emulated ISO ratio. For example, ISO25 is emulated by 10 cycles at ISO250, so the shortest emulated shutter speed is 1/80000 * 1/10 = 1/8000.

The captured images are averaged to produce the final image. This increases the signal-to-noise ratio and can create the desired motion blur effect. When shooting in raw, the number of bits per sample can also be increased.

Obviously, the delay between cycles should be as short as possible in order to use this emulation without intermediate image alignment and transformation. And also as stable as possible to get an adequate motion blur effect.

2024-04-02

Auto-Takumar 105/2.8 (M42x1): 4/4 generation

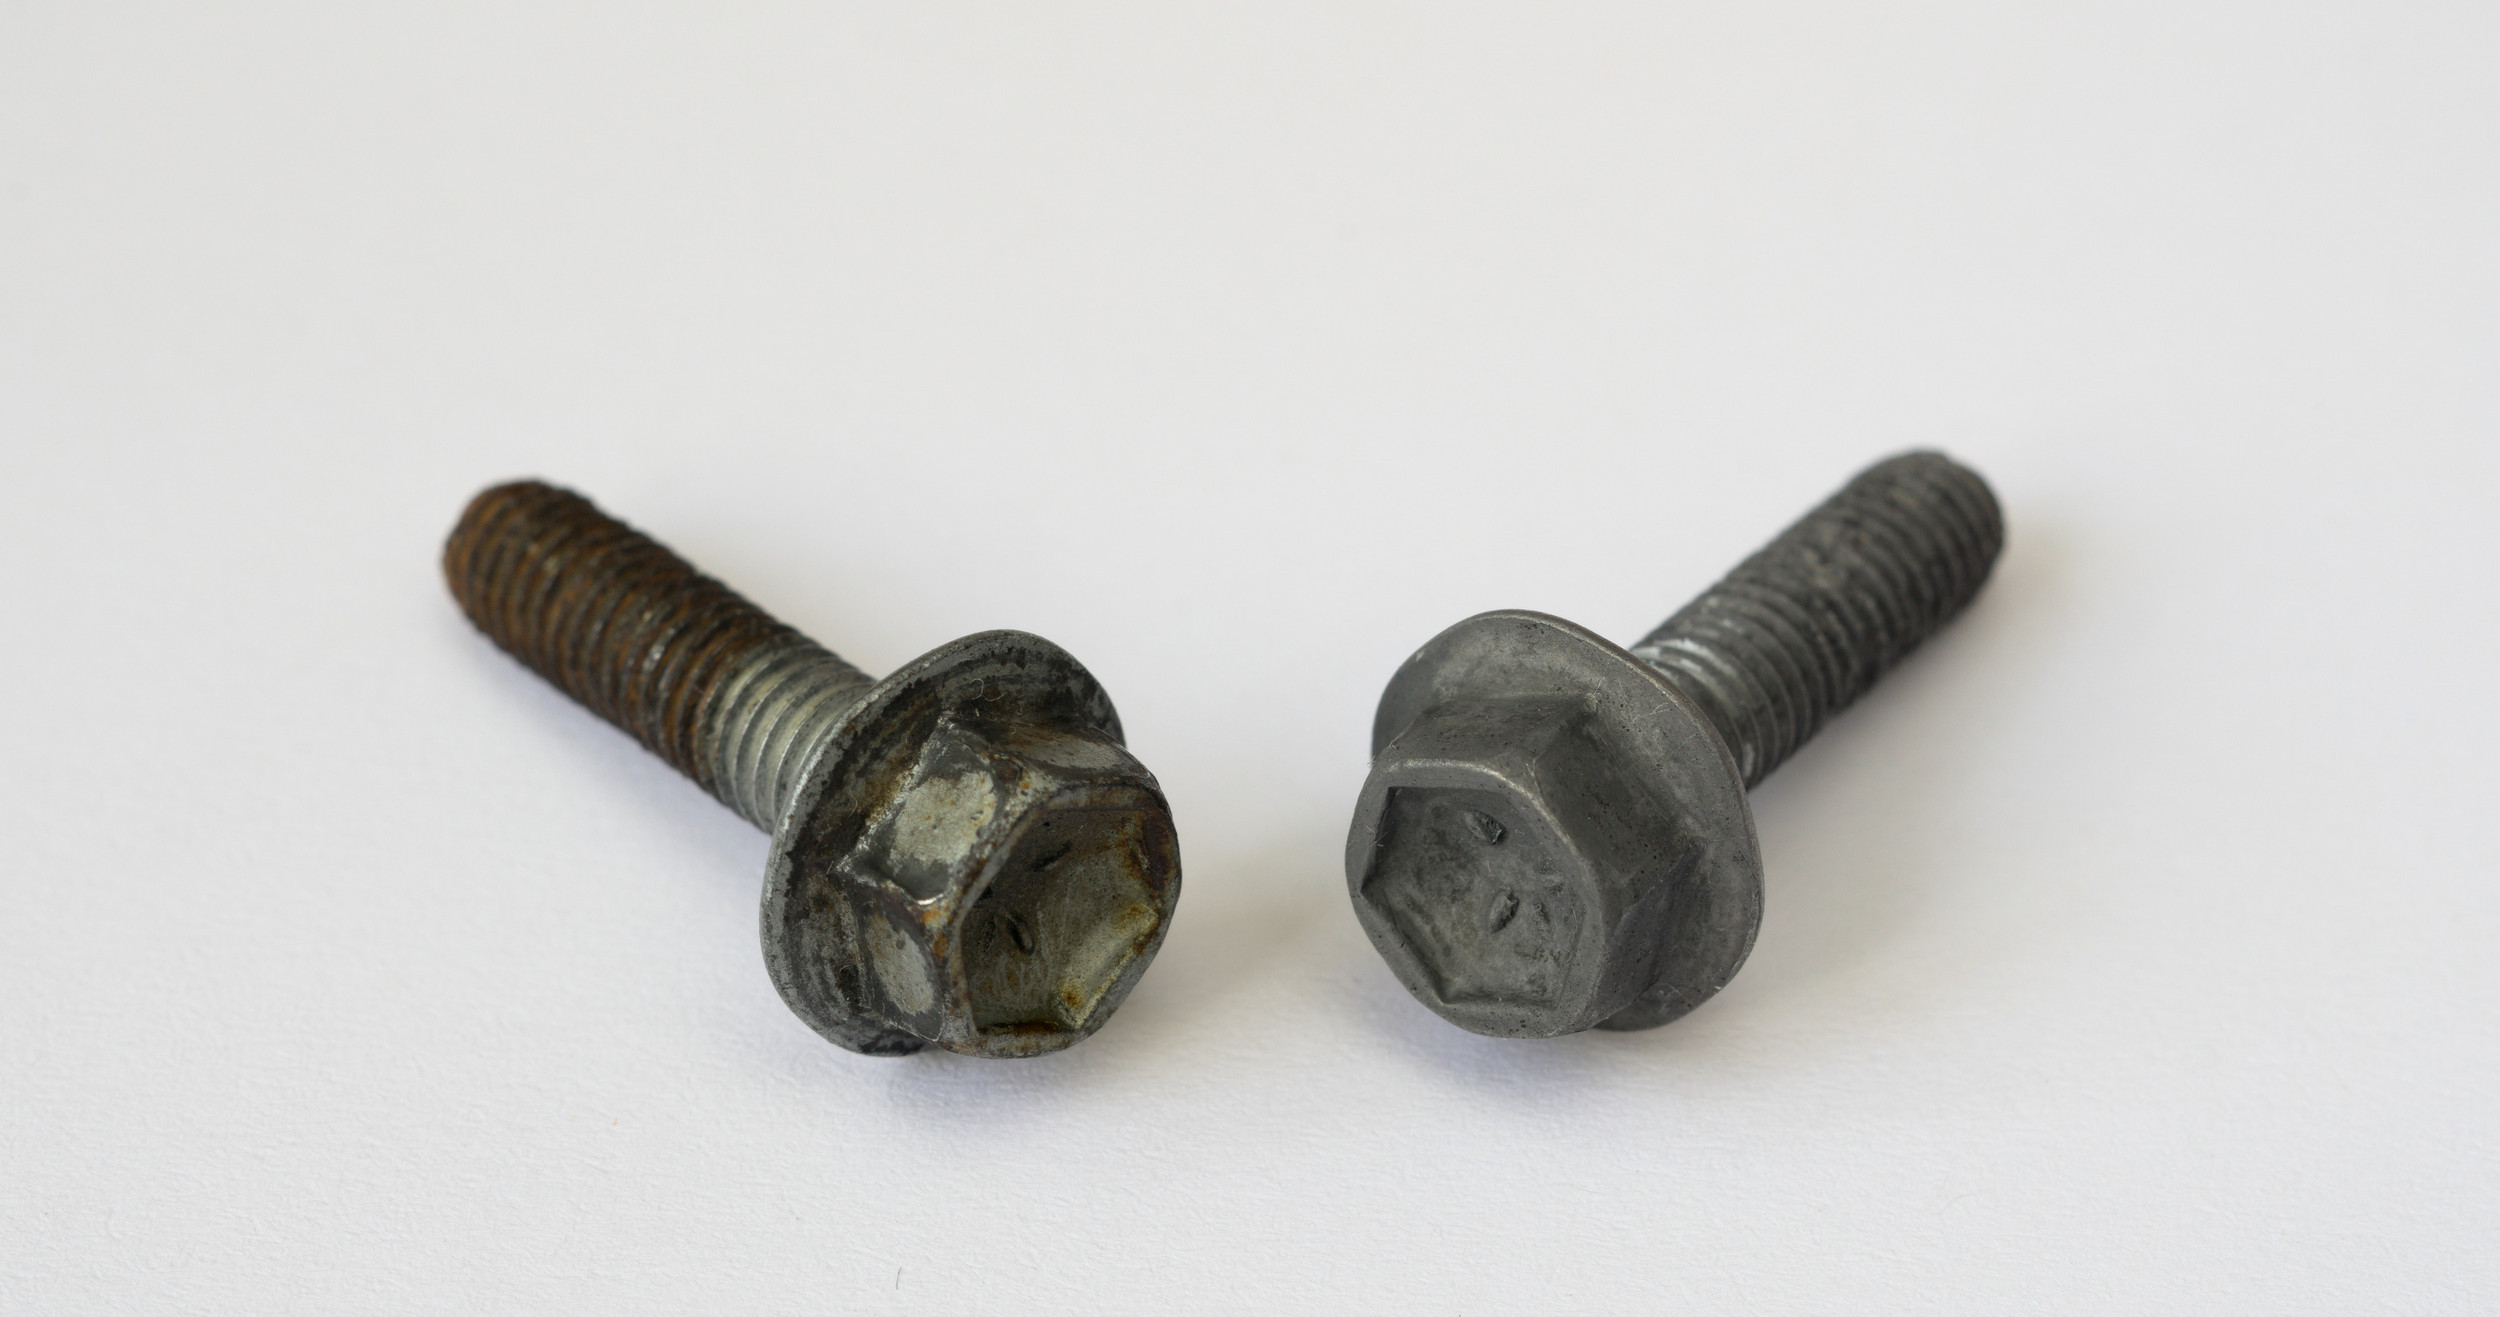
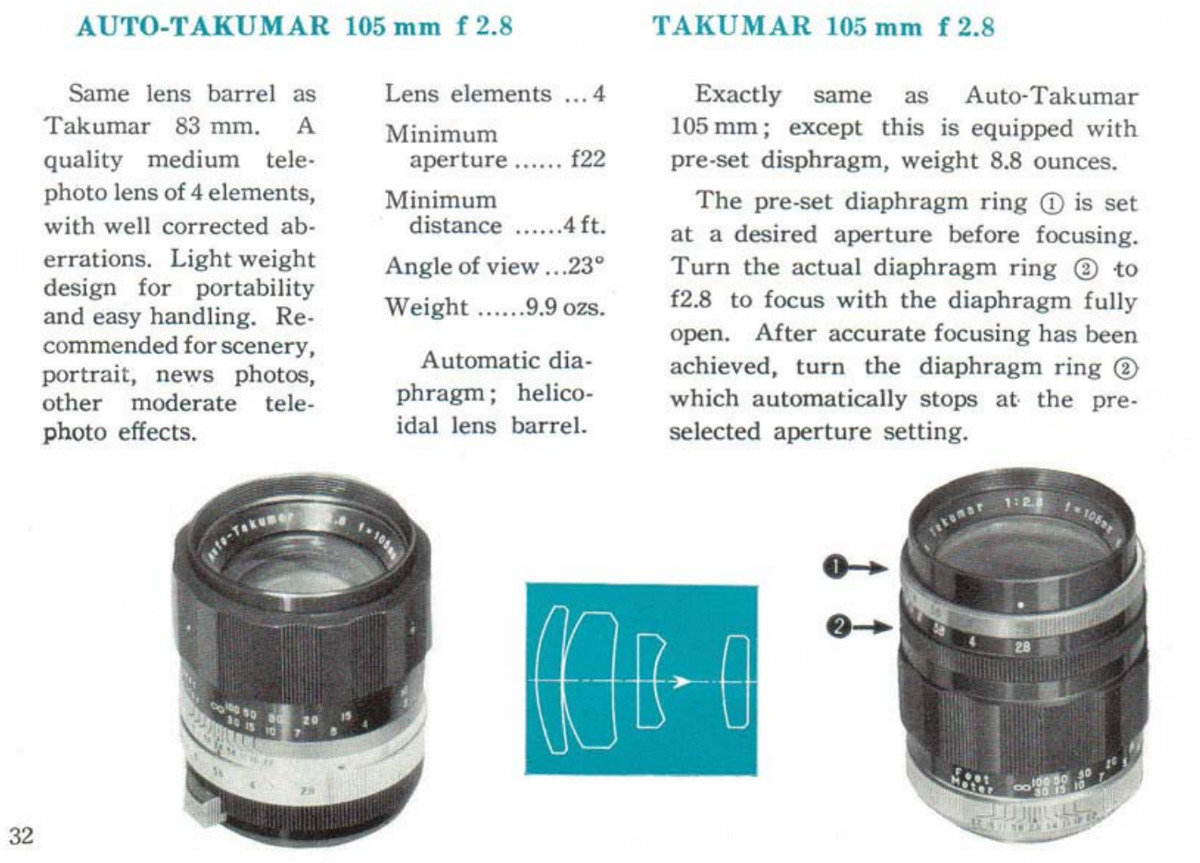
There are two generations of the Takumar 105/2.8. The first generation consists of 4 elements in 4 groups and the second generation (and also the Pentax 105/2.8) consists of 5 elements in 4 groups (with the rear two elements cemented).

I already have the Takumar 105/2.8 (Pre-Set II), which is the second (5/4) generation. And recently I bought the Auto-Takumar 105/2.8.


This is a lens from 1959-1961 (or, maybe, 1959-1963). As far as I know, earlier versions were marked as "1:2.8 f=105mm", so this one ("1:2.8/105") is later.

The Auto-Takumar 105/2.8 is optically the same as the Takumar 105/2.8 (Pre-Set I):


So its optical design is 4 elements in 4 groups (without cemented elements).

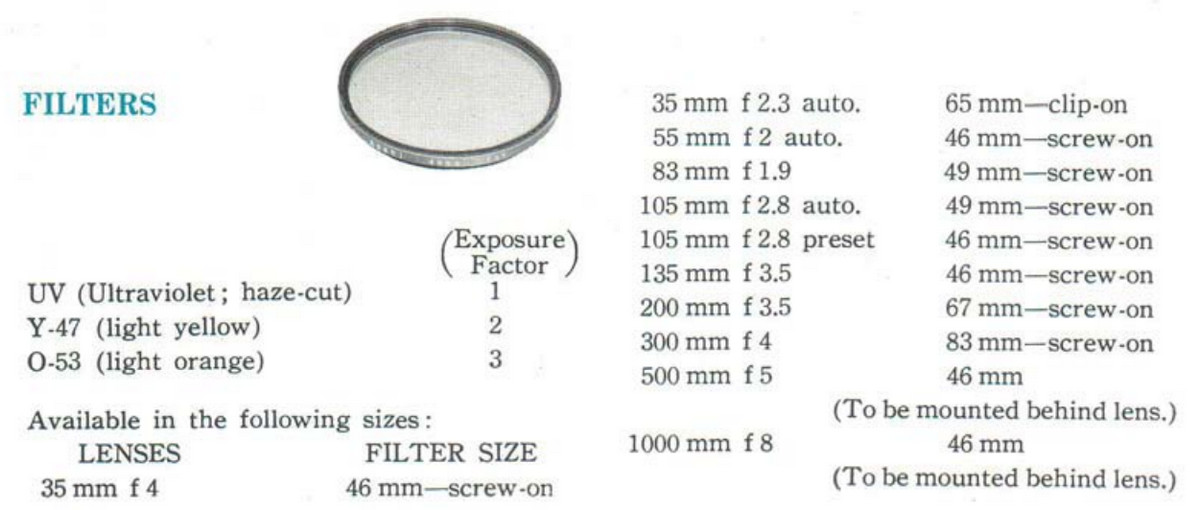
The filter thread size is 49mm (while the Pre-Set Takumar has 46mm).


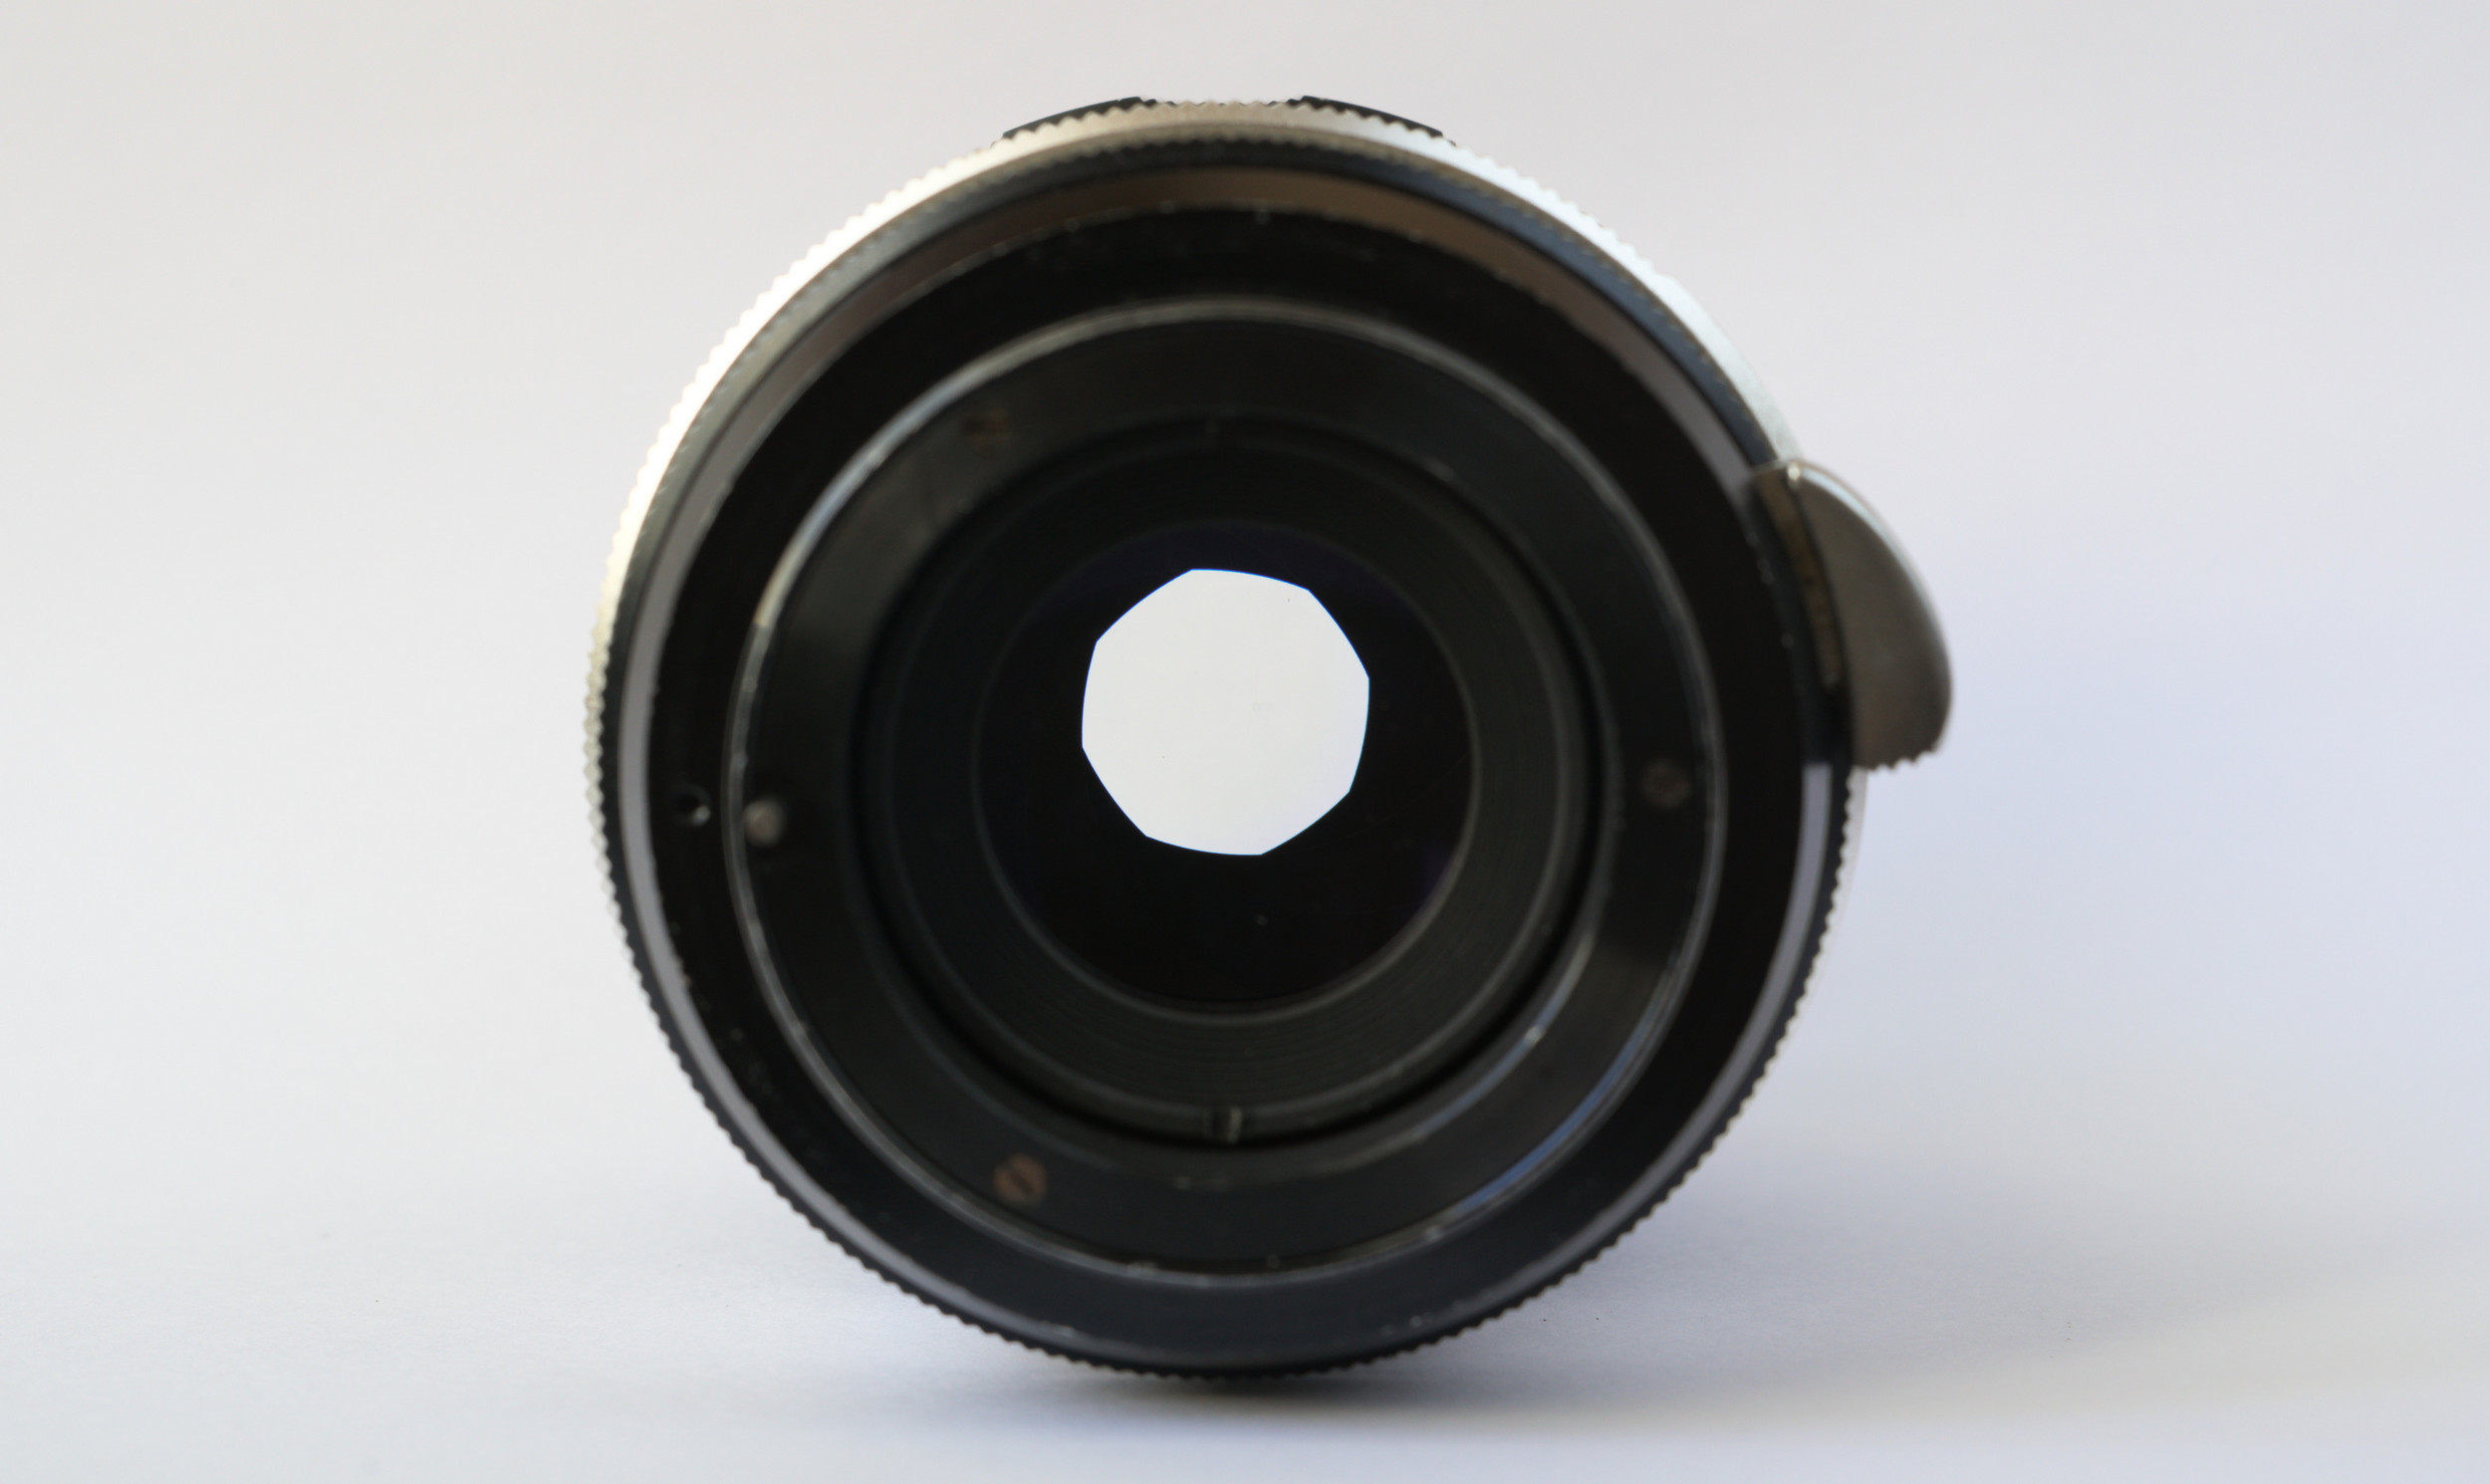
The aperture has 8 blades.


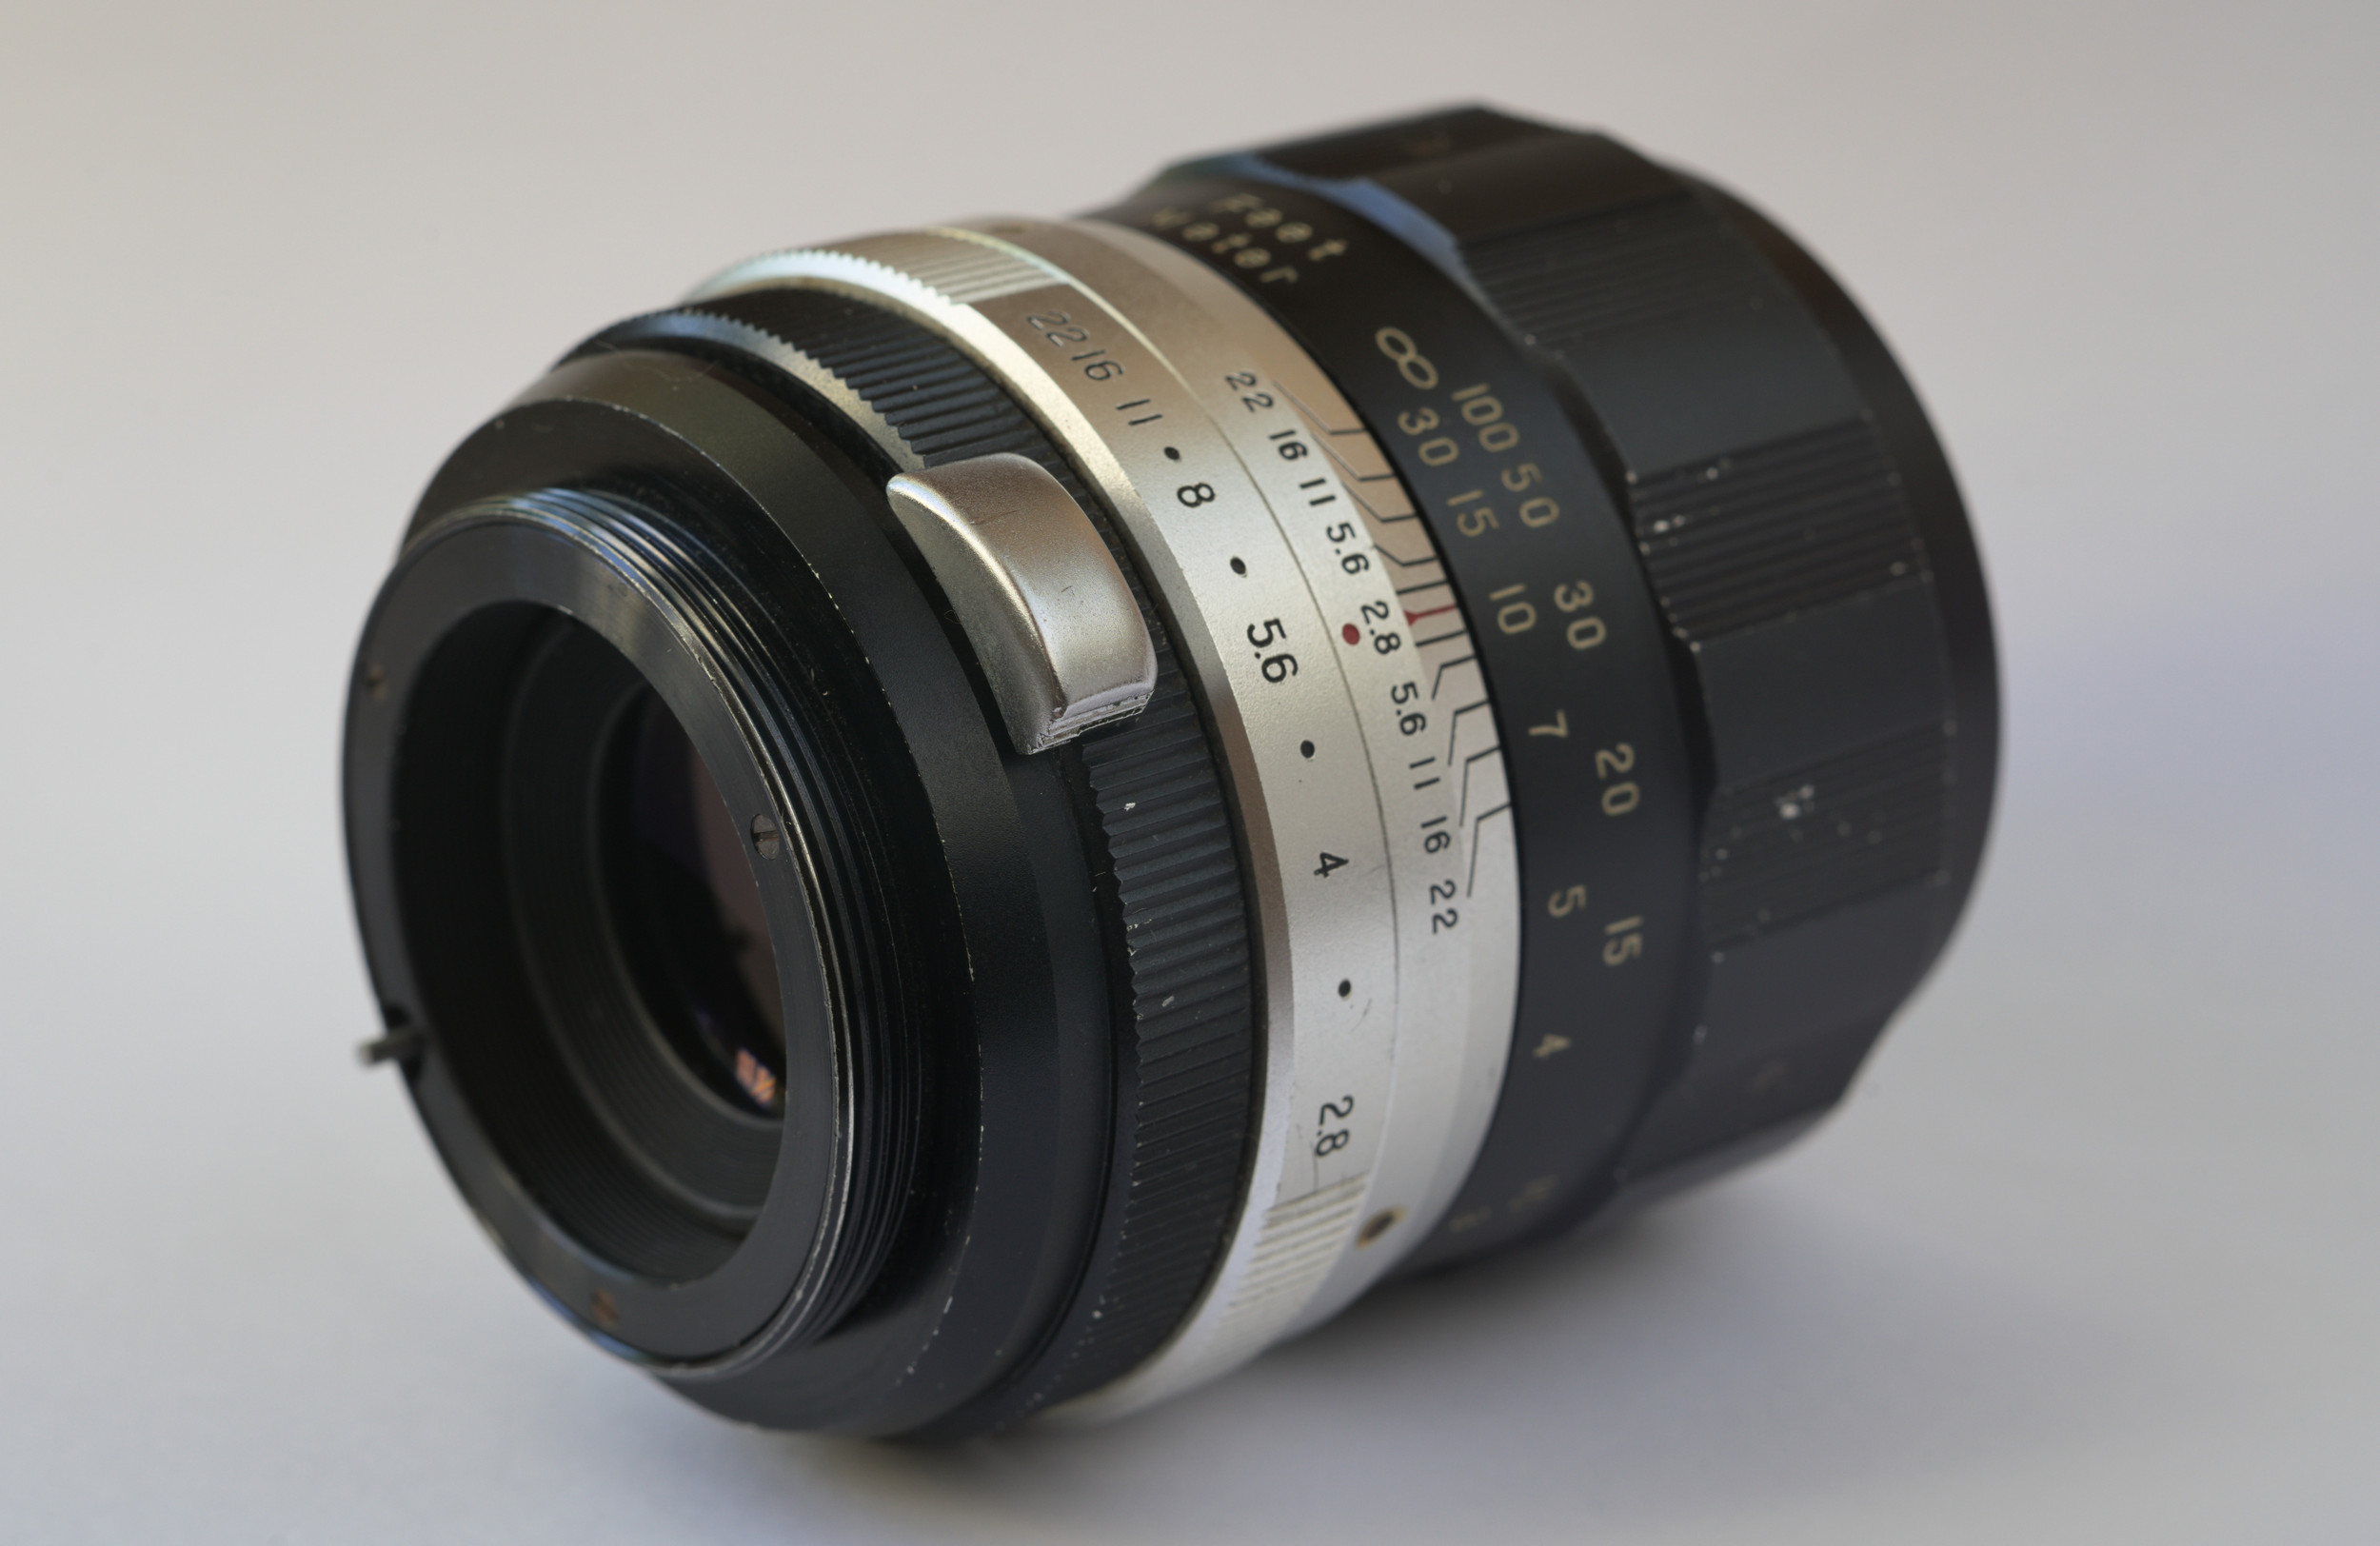
This lens is called Auto-Takumar because of its special aperture control. Under normal conditions, the aperture is controlled directly by the aperture ring (with click stops at f/2.8, f/3.3, f/4, f/4.8, f/5.6, f/6.7, f/8, f/9.5, f/11, f/16, f/22).

However, the aperture mechanism can be manually cocked with the lever on the lens to fully open the aperture (for easier focusing).


During shooting, if the camera supports it, the small (stop-down) pin is pressed to close the aperture to the set value.


Then cock the lens lever again to repeat the cycle.

Despite the name Auto, this is semi-automatic, as opposed to the later fully automatic aperture control lenses called Super-Takumars and so on.

This semi-automatic aperture control is completely useless in modern use with an M42x1 adapter. If an adapter keeps the small pin pressed, it is impossible to cock the lever. If an adapter doesn't push the small pin, you can cock the lever, but the lens should be removed to manually push the small pin to close the aperture. So the only way is to control the aperture directly with the ring without using the lever. Of course, the pre-set versions (both generations) are much more convenient to use with an adapter.

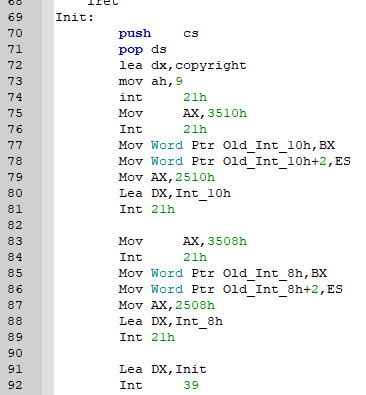
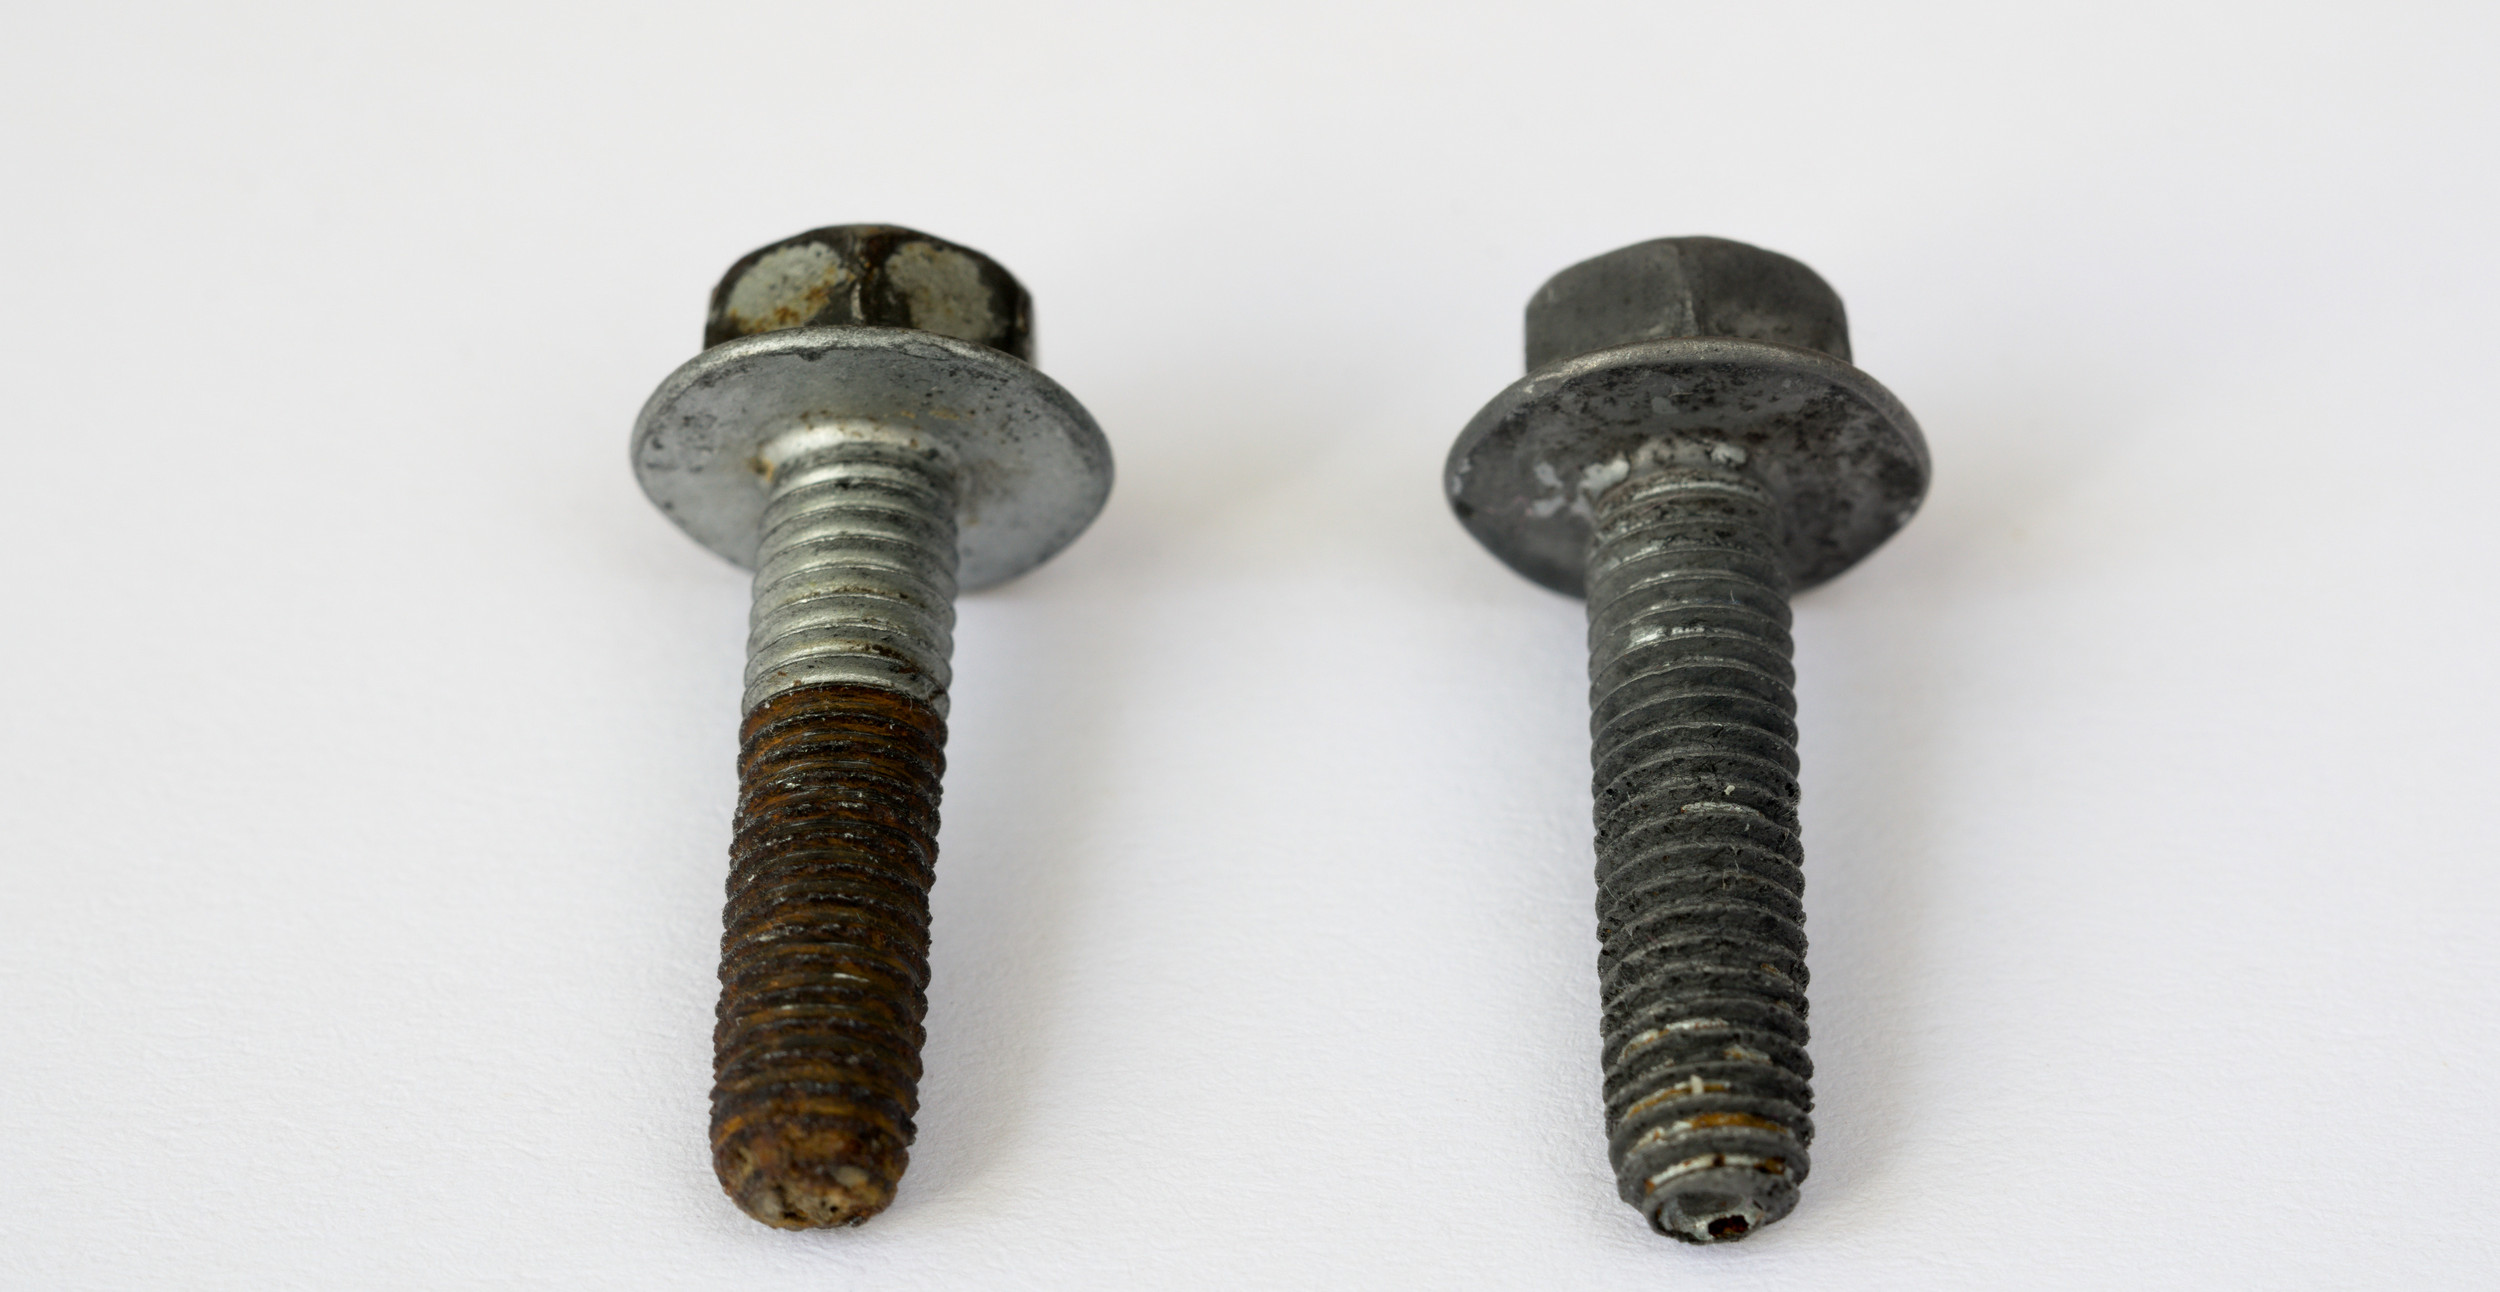
So, now I have two generations of the Takumar 105/2.8:


(The Auto-Takumar and the Pre-Set Takumar)

And I can compare 4/4 and 5/4 optical designs of 105/2.8!

Blog Archive